
- by Arklyfe Team
2-Gang, 4-Gang or 6-Gang Smart Switch? Plan the Buttons and Circuits
- by Arklyfe Team
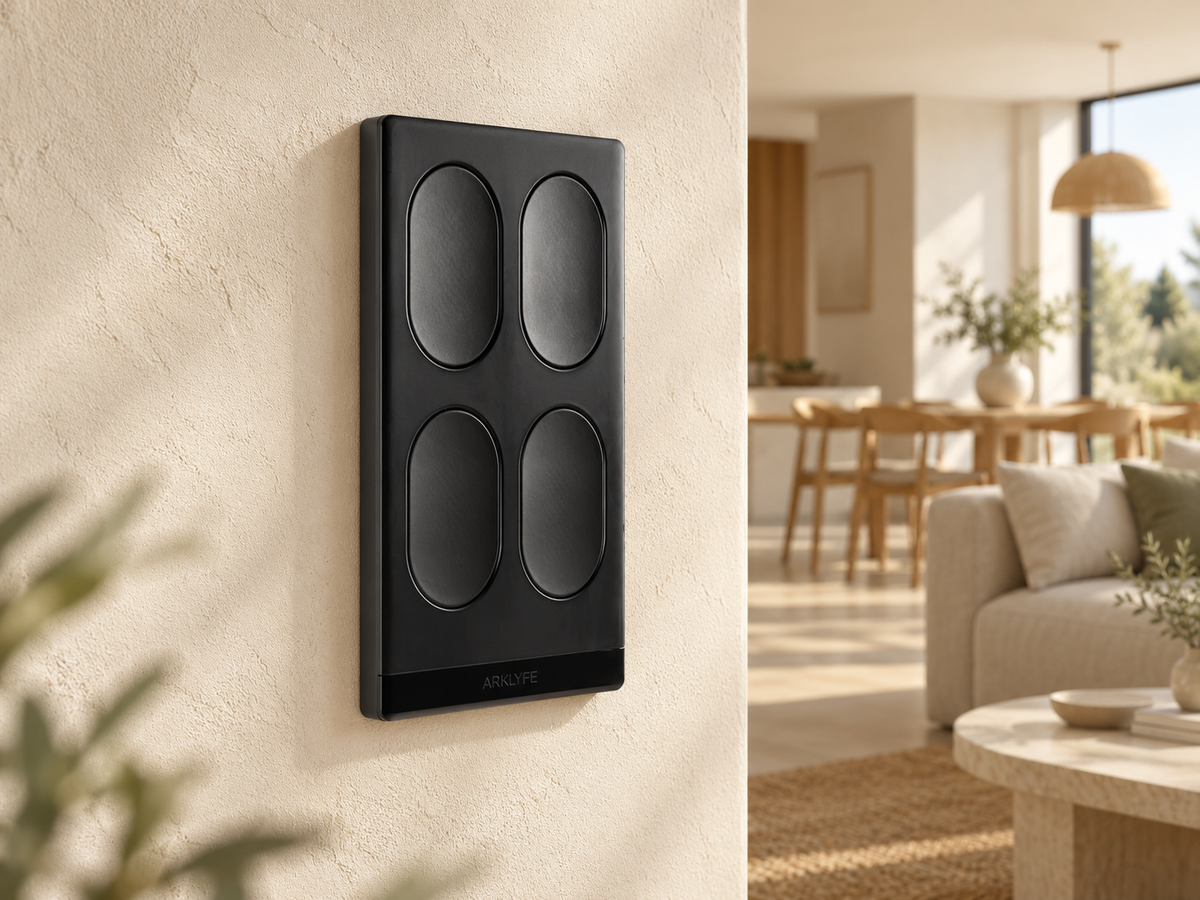
Illustrative home setting with a non-illuminated StellarTrack switch. Generated image; not a photograph of a completed installation.
Start with the lights you want to control independently, then add any scene shortcuts you will actually use. The number of buttons on a smart switch does not always equal the number of wired circuits it can switch. Confirm both before ordering a 2-, 4- or 6-gang smart switch.
This guide focuses on planning the controls at one wall position. If you are still choosing a system, begin with our complete guide to smart light switches in Australia.
Product names may use “gang” to describe a panel layout. For a smart switch, check the specifications behind that label. Three different numbers matter:
For example, wanting separate control of ceiling lights and pendants is a circuit requirement. Wanting an “Evening” shortcut that sets several compatible devices together is a scene requirement. Write these down separately so that a larger panel does not hide a missing circuit.
The current listing for the non-illuminated StellarTrack Matter Smart Switch (Thread) specifies the following layout choices. These figures describe that product, and should be confirmed for the exact configuration you order.
The StellarTrack manual describes button and relay decoupling, including relay and scene modes. It is a family-level manual, so use the selected product’s specifications and order confirmation for the precise button-to-circuit mapping.
Keep the two StellarTrack products separate. The Light & Sensor model has its own listing and configuration. Its built-in sensor adjusts the button backlight; it does not automatically switch or dim the room lights in response to occupancy.
A short list is more useful than choosing the largest panel first. For each wall position, note:
Illustrative planning example: a living and dining area needs separate ceiling lights and pendants, plus an “Evening” scene. That is two desired lighting groups and one scene shortcut. Ask the supplier and electrician which selected configuration can provide those functions in your platform. The example is a planning brief, not a wiring plan or a claim that every platform exposes every button in the same way.
If your brief calls for four independently switched wired groups at the same position, the three-circuit limit listed for the non-illuminated StellarTrack 4- and 6-button models needs attention. Adding more scene buttons alone will not meet that requirement. Ask your electrician to design a suitable arrangement before buying.

Confirm what a scene button can trigger in the app you intend to use. Ask the supplier to distinguish relay control, button events and any decoupled mode supported by the selected model and platform. A claim that a device works with Matter does not, by itself, explain the behaviour of every button.
For a typical Matter over Thread home setup, check for a compatible Matter controller and a Thread border router. Some devices provide both functions. Check the exact model rather than assuming every smart speaker or hub has Thread support.
For Google Home, Google’s Matter setup requirements distinguish hubs that support Thread from hubs that only support Matter over Wi-Fi. For Apple Home, check Apple’s current home-hub and Thread accessory guidance against your exact HomePod or Apple TV model.
Also ask what happens if the internet or a required hub is unavailable. A directly switched load and a platform scene have different dependencies. During commissioning, have the installer demonstrate the normal wall-button behaviour and the agreed fallback behaviour.
Before ordering, ask a licensed electrician to confirm the neutral wire, wall-box dimensions, load types and ratings, and any two-location switching arrangement. The non-illuminated StellarTrack listing states that a neutral wire is required at the switch.
Do not remove the wall plate or identify conductors by colour yourself. Energy Safe Victoria’s household guidance identifies changing light switches as electrical work for a licensed electrician. Use the product’s technical documents for the installation assessment.
Dimming is a separate check. More buttons do not establish that a switch can dim a connected light. Confirm the exact dimming hardware, lamps and intended controls before treating dimming as part of your plan.
Compare the smart switch range once that brief is clear, then send Arklyfe the chosen product and the functions you need confirmed. A clear control plan helps you choose the smallest layout that does the job without paying for buttons you will not use.
Not necessarily. Check the relay specification separately from the front-panel button count. The current non-illuminated StellarTrack listing specifies up to three switched circuits for its 6-button layout, with additional buttons for scene use.
It depends on the control plan. Two independent wired lighting groups may be enough for one room. Another may need a third wired group or a supported scene shortcut. Choose against those functions and the selected model’s specifications.
They describe different requirements. A panel’s gang or button count concerns its layout; two-way switching concerns controlling the same light from two locations. Have the electrician confirm the supported arrangement for the exact model.
No. Button count does not establish dimming capability. Check the selected switch, any separate dimming equipment and the lamps as a complete setup.
Does Matter Work Without Internet? A Home Handover Checklist
An internet outage is not the same as a router failure or a blackout. Test the controls you depend on before accepting your smart-home setup.
Plan a Smart Home for Your New Build Before Rough In
A useful smart-home brief connects your room plan with the exact products, trades and setup responsibilities. Agree these decisions before electrical rough-in.
2-Gang, 4-Gang or 6-Gang Smart Switch? Plan the Buttons and Circuits
More buttons can give you more control options, but they do not always add wired lighting circuits. Use this room-by-room checklist to plan your switch layout.
Share:
Before You Buy a Curtain Motor: Check the Track, Power and Controls
Plan a Smart Home for Your New Build Before Rough In