
- by Arklyfe Team
Plan a Smart Home for Your New Build Before Rough In
- by Arklyfe Team
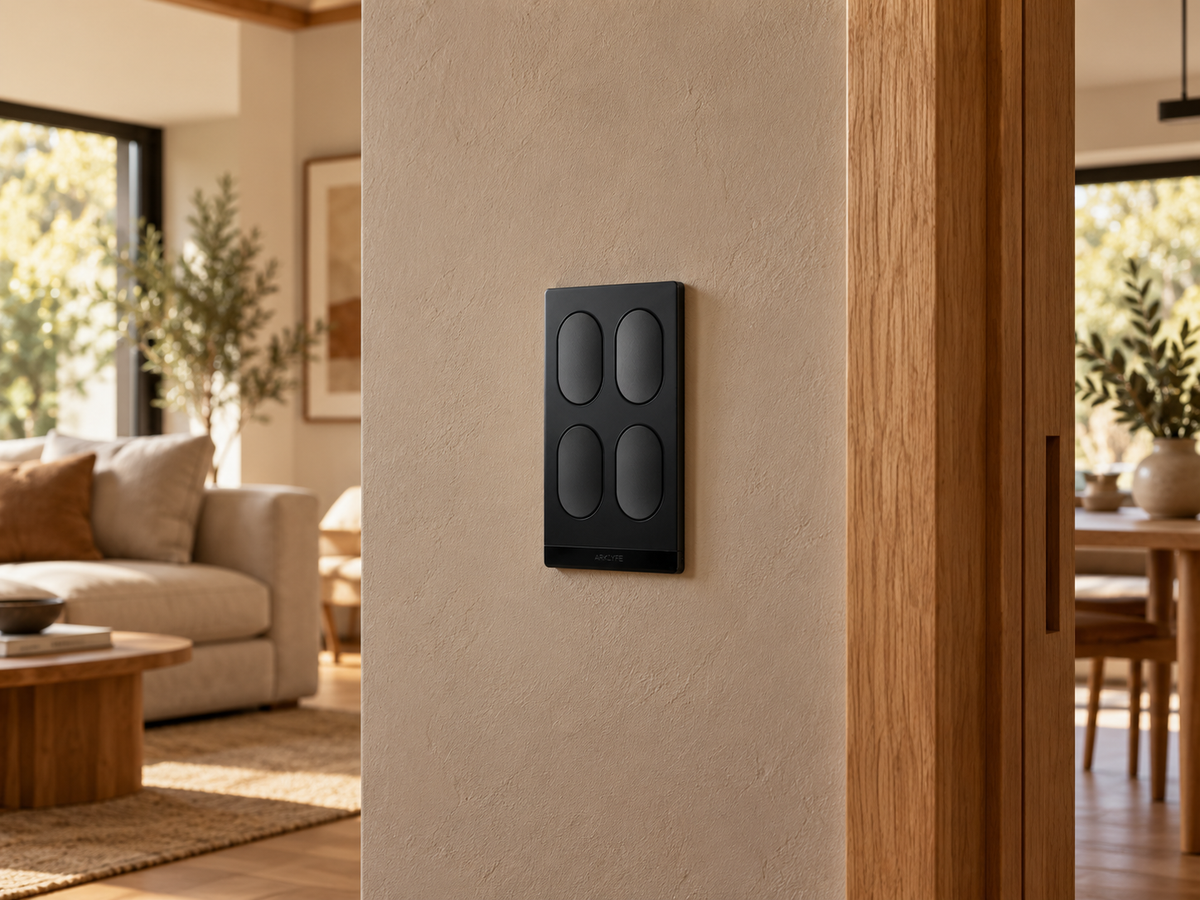
Illustrative generated home setting with a StellarTrack switch. This is not a photograph of an Arklyfe installation.
If you are planning a smart home for a new build, agree the system approach, exact products, wall-control locations and setup responsibilities before electrical rough-in. Give the builder and installer one coordinated brief, then confirm which decisions must be settled before walls and ceilings are closed.
You do not need every future automation written on day one. You do need a clear distinction between the functions you want now, provisions to assess for later, and equipment that has not yet been selected. This checklist helps you prepare that conversation; it is not a wiring plan.
Describe the actions you want before choosing a panel finish. For example, you may want separate control of the kitchen pendants, a familiar wall button for guests, and an evening scene in the living area. These are desired functions to confirm, not promises that any particular product will provide them.
Mark each control position on the current room plan. Note which lighting groups it should operate, any dimming you want, and whether the same lights need control from a second location. Ask the designer and electrician to check those wishes against the selected equipment.
Keep detailed button selection in the separate 2-, 4- and 6-button planning guide. A panel's button count alone does not establish its switched-circuit capacity or dimming functions.
Wired KNX TP and Matter over Thread need different installation planning. KNX describes TP as a dedicated twisted-pair communications bus. Thread is a wireless mesh, with a border router providing a connection to the wider IP network. Those communication methods should not be treated as interchangeable wiring instructions.
For a wired system, ask the system designer to identify the bus, equipment space, power and commissioning requirements. For a mains-powered Matter over Thread wall switch, wireless communication still leaves electrical wiring and product-fit checks to resolve. Do not postpone that assessment because the product is described as wireless.
If the system has not been selected, record the open decision and ask what can safely proceed under an agreed provisional design. Avoid ordering substitute products on appearance alone. For broader switch-selection background, see the complete smart-switch guide.
Give the electrician the chosen product link and its current installation documents. Ask them to confirm the wiring requirements, wall-box fit, intended circuits, lighting-load compatibility and any multi-location controls.
The non-illuminated StellarTrack Matter Smart Switch listing specifically calls for installer checks of wiring, neutral requirements, back-box dimensions and load compatibility. Use it as a product to assess against your plan. Confirm the exact selected option and availability before making it part of the build programme.
Keep dimming, scenes and occupancy-triggered lighting as separate questions. A scene button may need platform configuration and compatible devices. A sensor built into a switch may serve only the button backlight. Confirm the actual function rather than inferring it from a product name.
Have a licensed electrician assess and carry out electrical work. Energy Safe Victoria's guidance includes light-switch work among jobs homeowners should not do themselves. Do not open a switch plate or inspect conductors to complete this checklist.
Choose the platform you intend to use and list the exact hub or controller models you already own. Matter-controller capability and Thread-border-router capability are different functions, although one supported device can provide both.
Google Home's current guidance requires a Matter-enabled hub and, for Thread devices, Thread-border-router functionality. Apple also describes local pairing options for some iPhone setups; the equipment needed depends on the device, software and functions you want. Check the current platform guidance rather than assuming every smart speaker or every Apple TV supports the same role.
Agree appropriate powered locations for the selected equipment and have the installer assess coverage for the actual home. A tidy cupboard is not automatically a suitable location for radio equipment. Do not base the plan on an assumed range or a blanket rule such as one hub per floor.
Plan relevant fixed communications cabling alongside this work. ACMA's guidance covers new-house communications cabling and data cabling connected to telecommunications networks. Arrange the work through an appropriately registered cabler; ask who is responsible for the network outlets and associated documentation.
Use the following fields to keep the builder, electrician, smart-home installer and relevant cabler working from the same information:
Treat this as a coordination checklist, not an electrical specification. Have the professionals resolve differences between product descriptions, technical documents and the proposed design before ordering.

Ask for a room-by-room demonstration of the functions in the agreed brief: physical buttons, supported app controls and the scenes that were actually commissioned. Specify which functions should remain available if the internet or a required controller is unavailable, then have that behaviour demonstrated for the finished setup.
Agree who owns the homeowner accounts and who will retain any system project files or configuration records. Keep pairing codes and access details private. Ask for a list of installed models, relevant documentation and the appropriate support contact.
These are handover expectations to agree with the supplier and trades. They are not a claim that every product provides the same offline operation, scene support or remote access.
Prepare your marked-up plan and the brief above before requesting a product recommendation. Compare the smart-switch range once the required functions are clear, and contact Arklyfe with the models and unresolved questions. For a Melbourne build, the installation enquiry page provides a starting point for discussing project scope.
Some product choices may still be possible, but the result depends on the wiring, wall boxes, loads and system design already installed. Ask the electrician which choices must be confirmed earlier and what a later change would involve.
No. Thread describes the communications network. A mains-powered wall switch still has electrical installation requirements, which a licensed electrician must assess for the exact product.
Check the platform, exact equipment and required functions first. A supported device you already own may provide the necessary roles. Local pairing, automations and remote access can have different requirements.
Only after checking what the extra controls can do in the selected system. Extra buttons do not automatically add switched circuits, dimming or compatibility. Record the future function you want and have the installer assess the provision.
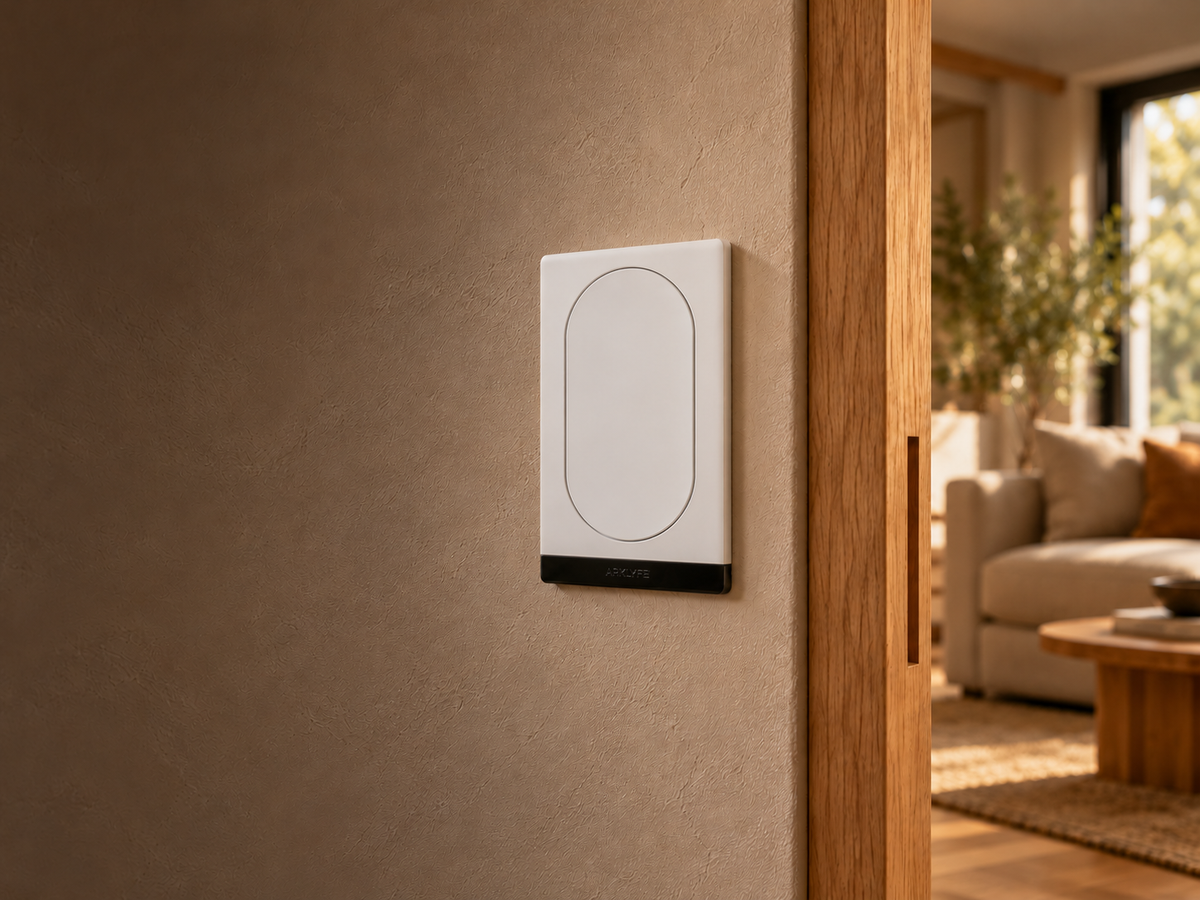
Does Matter Work Without Internet? A Home Handover Checklist
An internet outage is not the same as a router failure or a blackout. Test the controls you depend on before accepting your smart-home setup.
Plan a Smart Home for Your New Build Before Rough In
A useful smart-home brief connects your room plan with the exact products, trades and setup responsibilities. Agree these decisions before electrical rough-in.
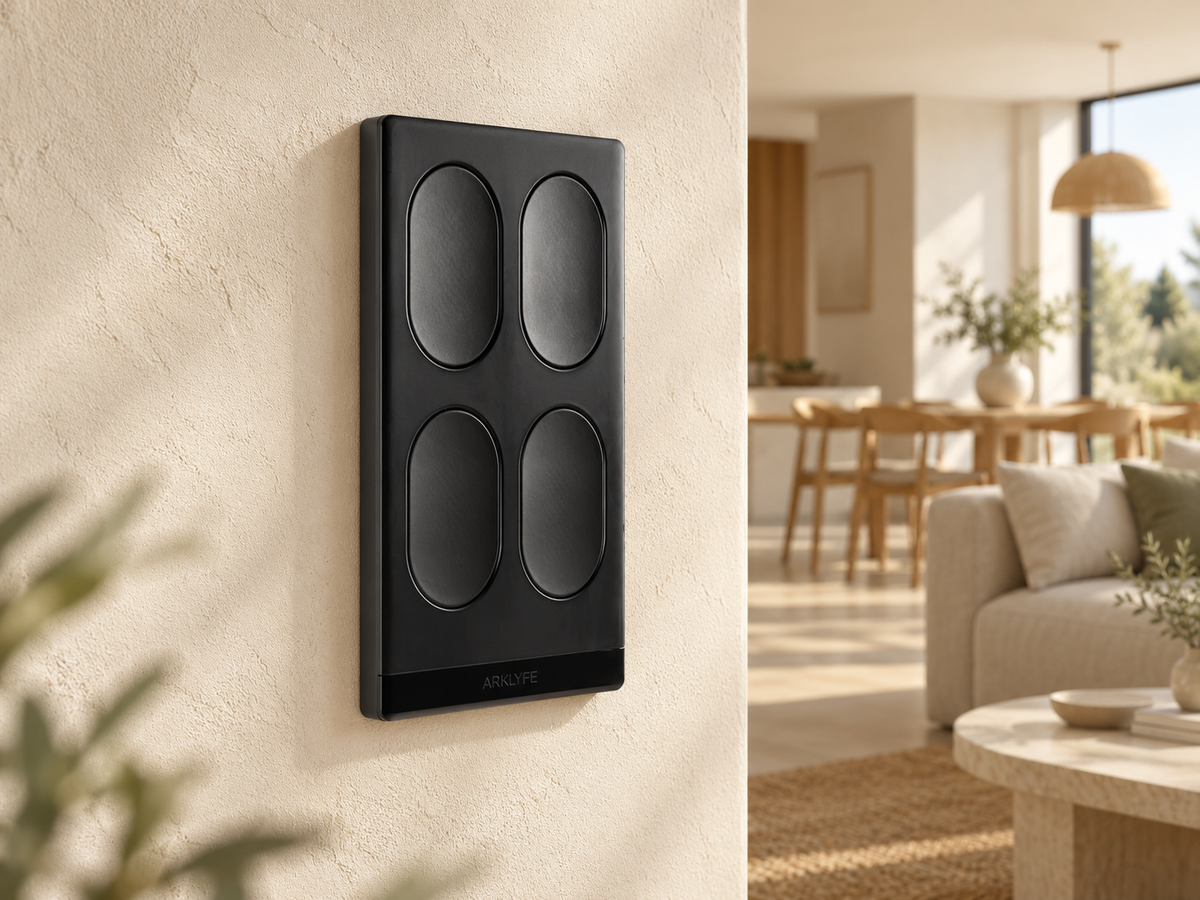
2-Gang, 4-Gang or 6-Gang Smart Switch? Plan the Buttons and Circuits
More buttons can give you more control options, but they do not always add wired lighting circuits. Use this room-by-room checklist to plan your switch layout.
Share:
2-Gang, 4-Gang or 6-Gang Smart Switch? Plan the Buttons and Circuits
Does Matter Work Without Internet? A Home Handover Checklist